

Baby Steps: $10 in Free Bitcoin
How to Set up a Bitcoin Wallet

I want to give you $10 of bitcoin.
You heard me right…
Baby Steps
The best way to learn about bitcoin is to actually own some. And I don’t mean on an exchange or via an ETF. I mean self-custody bitcoin.
Bitcoin held on an exchange is just a credit. You don’t own it and are trusting the exchange to keep it safe and let you access it.
What’s self-custody?
I go in depth here:
In short, it’s…
THE most secure way to hold bitcoin.
Self-custody is what it sounds like.
Self—you.
Custody—possession.
When you use self-custody, you have complete ownership over your funds. Read the post about holding bitcoin off exchanges for more about what private keys are and how they’re the reason that you and you alone own that real bitcoin.
For now, let me help you get started using bitcoin.
If you don’t own any bitcoin, you probably don’t have a bitcoin wallet. If you do own some but don’t know what a self-custody wallet is, you need one.
Holding bitcoin via self-custody isn’t complicated. In fact, it’s often easier than setting up an account with a cryptocurrency exchange.
How to Set up a Bitcoin Wallet
I’ll walk you through an easy mobile wallet setup. Once you’re up and running with a mobile self-custody wallet, you can read my post about holding bitcoin off exchanges to explore even safer ways to store larger amounts of bitcoin.
Treat your mobile wallet like you would a traditional wallet. Just as you wouldn’t walk around with $10,000 cash in your wallet, you wouldn’t want to walk around with that much bitcoin on your phone.
Similar to how you interact with traditional money, all best practice financial habits like this also apply to bitcoin.
After you get comfortable using your mobile wallet and if you buy or receive larger amounts of bitcoin, you can learn more about other wallets.
So…
I want to give you some bitcoin.
$10 in Free Bitcoin
Take these 5 easy steps to set up a bitcoin self-custody wallet and I’ll send you your first $10 of BTC!
With the current annual promo for paid subscribers, $10 equals ~3 and a half months worth of Bitcoin Binge.
I’ll give it right back to you…
In bitcoin!
More importantly, you can start learning about bitcoin by actually using it in a smart and secure way.
I’ll be here to help the entire time.
Let’s get started.
1. Install Muun Wallet
Muun is a self-custody bitcoin wallet.
It’s available on iOS and Android.
Access their website directly from the device you’re installing the bitcoin wallet on then select App Store or Google Play to download.
Get the Muun Wallet app.

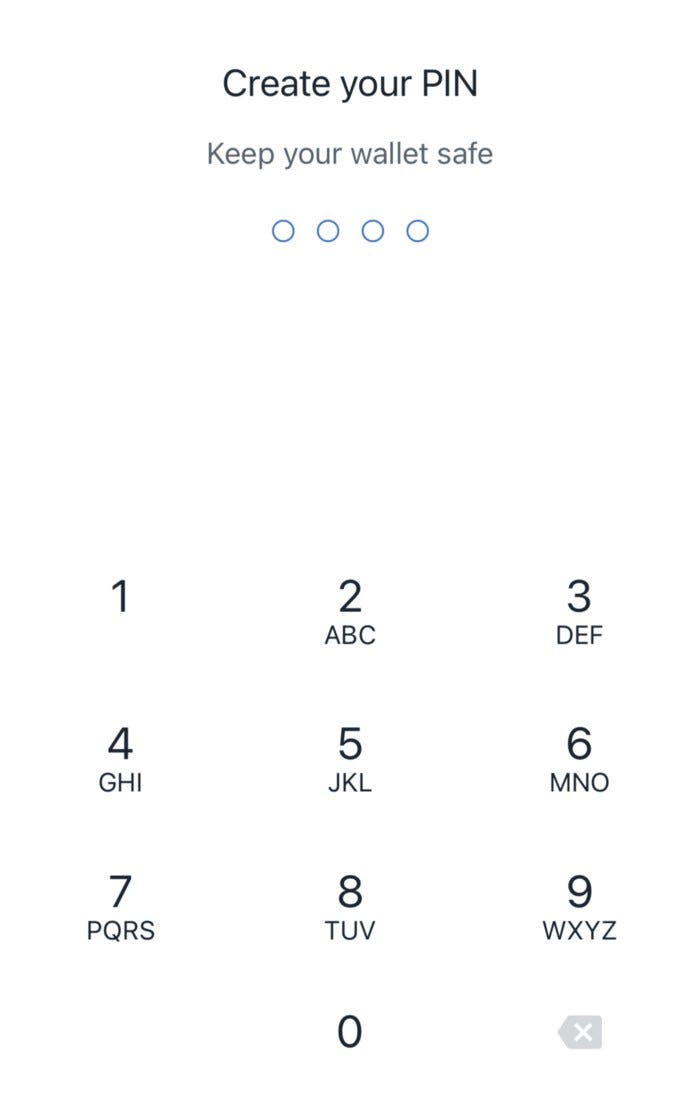
2. Create PIN
When first using Muun, you’ll be prompted to create a four-digit PIN that you’ll use to access the app on your device.
This is like the PIN you use to unlock your phone screen or other apps. It’s best practice to always use passcodes like this for financial apps.
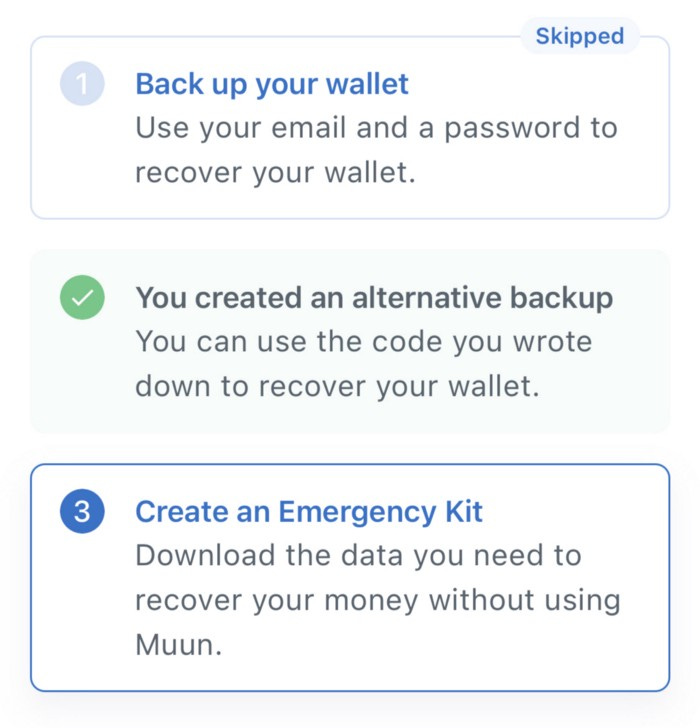
3. Create Backup
Muun provides two initial ways to access your wallet if you ever delete the app, lose your device, or otherwise lose access to your wallet.
use your email
or, create an alternative backup
Using your email to create a backup means you’re establishing a personal connection between your email account and your Muun wallet.
Using an alternative backup is a more secure option where no email or other personal identifier is connected to your Muun wallet.
I recommend creating an alternative backup. Later, you can also create an emergency kit.
4. Backup Your Code
When creating your alternative backup, you’ll be prompted to write down and save a set of letters and numbers.
don’t skip this step
do it right away
This code is your recovery phrase.
DO NOT take a screenshot or save your code digitally. Simply start by writing the code twice on two separate pieces of paper then keep them somewhere safe.
You can save your code in a more sophisticated way later.
You can delete and reinstall Muun anytime and gain access to your wallet by inputting your alternative backup code when first opening the app.
If you’re ever using the code to reinstall your wallet app, you’ll be able to select “I already have a wallet” and can follow the recovery steps.
But for now, you’re all set.
5. Receive BTC!
Congrats!
You have a bitcoin wallet!
You can now receive and send bitcoin.
I’ll send you your first bitcoin!
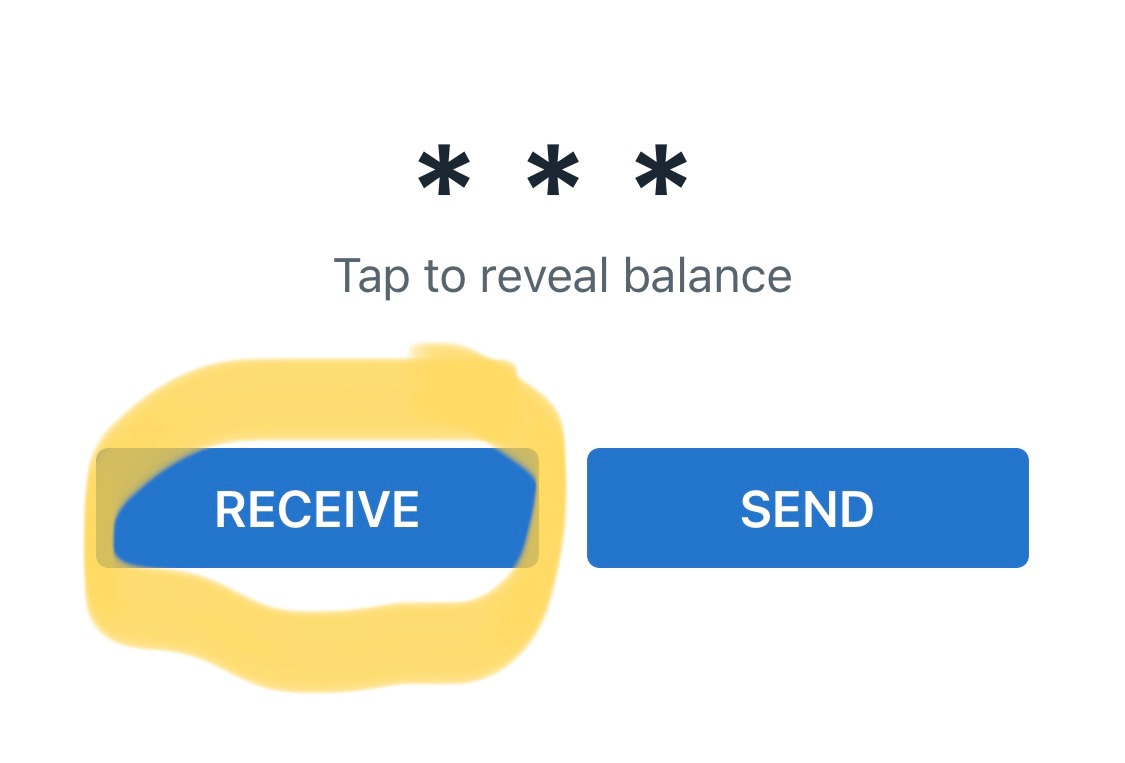
Do the following in your wallet app:
tap receive

tap copy
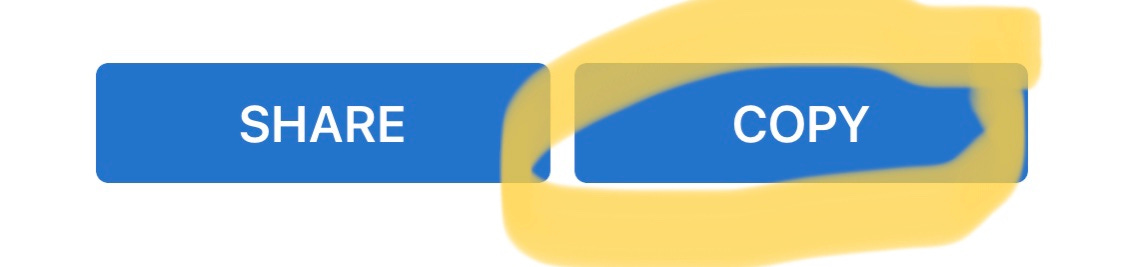
paste below!

Paste your bitcoin address in the comment section below and I’ll send you $10 of bitcoin.
That line of numbers and letters you’re seeing in your wallet when you tap receive is your bitcoin address.
Your address starts with: bc1
It also changes every transaction.
That’s normal!
It does this to give you more privacy.
We’ll talk more about bitcoin privacy, wallets, addresses, and plenty of other features as you progress.
Again, if you’re now using your self-custody bitcoin wallet, paste your bitcoin address in the comment section below and I’ll send you $10.
I’m happy to answer any questions you have about your new wallet while you wait for the next Bitcoin Binge email.
Just comment below.
Or, connect on Instagram!
You’re officially a bitcoiner : )
I am not an investment or financial advisor. All opinions expressed are mine alone. Read the full DISCLAIMER on the About page.
HODL on Garth.